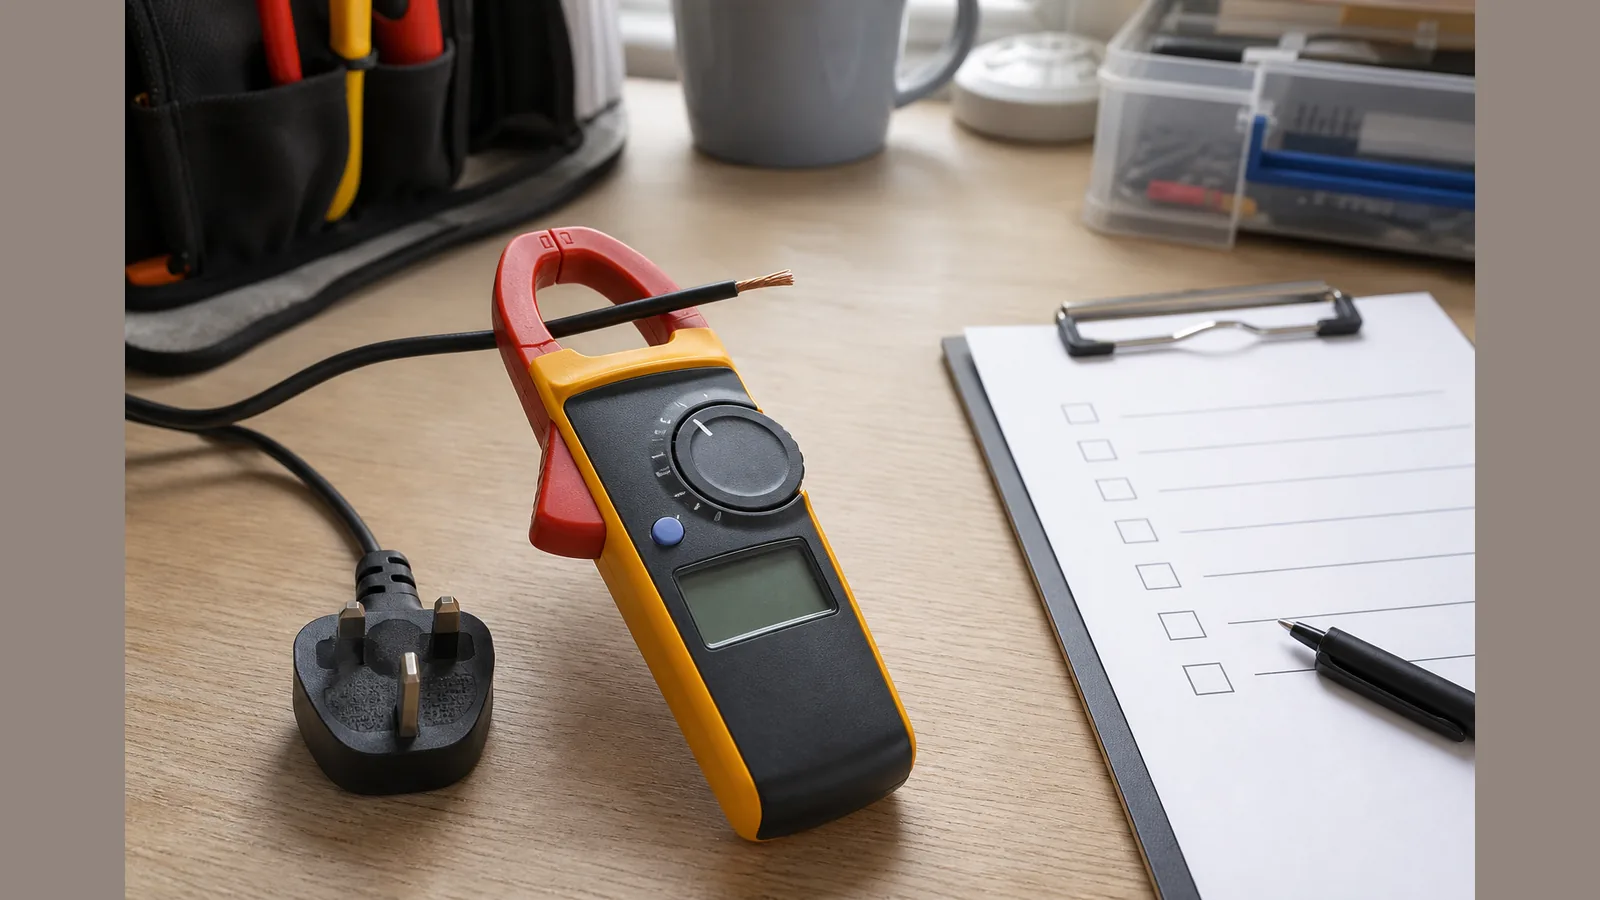
First day with clamp meter known load: practice on a UK socket
On your first day with clamp meter known load practice, validate the tool on a simple, predictable UK socket appliance before you use it for fault-finding. A short controlled check builds confidence with the jaws, the display and your own technique, without treating an unknown circuit as the training ground.
Answer: validate the tool on a known load before fault-finding
Start with a familiar load such as a table lamp or similar single-appliance lead that you already understand in rough terms. The aim is not to diagnose a fault; it is to confirm that you can select the right function, close the jaws on one conductor only, and see a reading that makes sense for that load. Keep the session within your competence, and treat any live work under safe-isolation and competent-person expectations for your workplace or course.
Unpack and inspect leads/jaws
Unpack the meter and accessories carefully. Check the jaw faces for dirt, damage or foreign material that could stop a clean close. Inspect any supplied leads and probes for cracked insulation, exposed conductors or damaged connectors before you use them. Confirm that the jaws open and close smoothly and that the display wakes cleanly when you power the instrument on. If anything looks unsafe or incomplete, stop and refer to the live product page for kit contents and guidance rather than improvising.
Zero DC path then try a simple AC appliance lead (single conductor)
If your meter offers a DC current path with a zero function, practise that sequence with the jaws closed and empty first. Zero before DC current tests to compensate for sensor offset; environmental factors or accidental bumps can alter the zero, so re-zero periodically, especially before critical measurements. DC and AC clamp behaviour is not the same, so treat zeroing as part of the DC preparation rather than a habit you skip.
For the known-load drill on a UK socket appliance, move to a simple AC lead where you can access a single conductor only—never clamp around the whole twin-and-earth or flex as a bundle if you want a useful current reading. Keep clear of damaged flex, and do not rely on non-contact voltage indication as prove-dead.
Record readings vs expected rough current
Write down the function selected, whether you zeroed (for any DC practice), which conductor you clamped, and the displayed reading. Compare that figure only against a rough expectation for the appliance you chose—for example, a small lamp load should look modest, not like a heavy heater. Use confirmed details precision claims or treat the exercise as a calibration certificate. If the reading is blank, wildly unstable, or obviously wrong for the load, stop, re-check jaw placement on a single conductor, and re-zero on DC if that path is in use.
Stop conditions and competence
Stop if the appliance, flex or plug is damaged; if you cannot isolate access to a single conductor safely; if the meter shows damage or unreliable behaviour; or if the task moves beyond known-load practice into fault-finding you are not authorised to do. Non-contact voltage alerts are a warning aid only—they are not a substitute for safe isolation and proving dead by the method required for your work. Hand the job to a competent person when in doubt.
CTA to ACM92 kit
When you are ready to review the BSIDE ACM92 True RMS DC current clamp multimeter kit for training and everyday checks, see the current ACM92 product details for live kit contents, price and specifications before you buy.