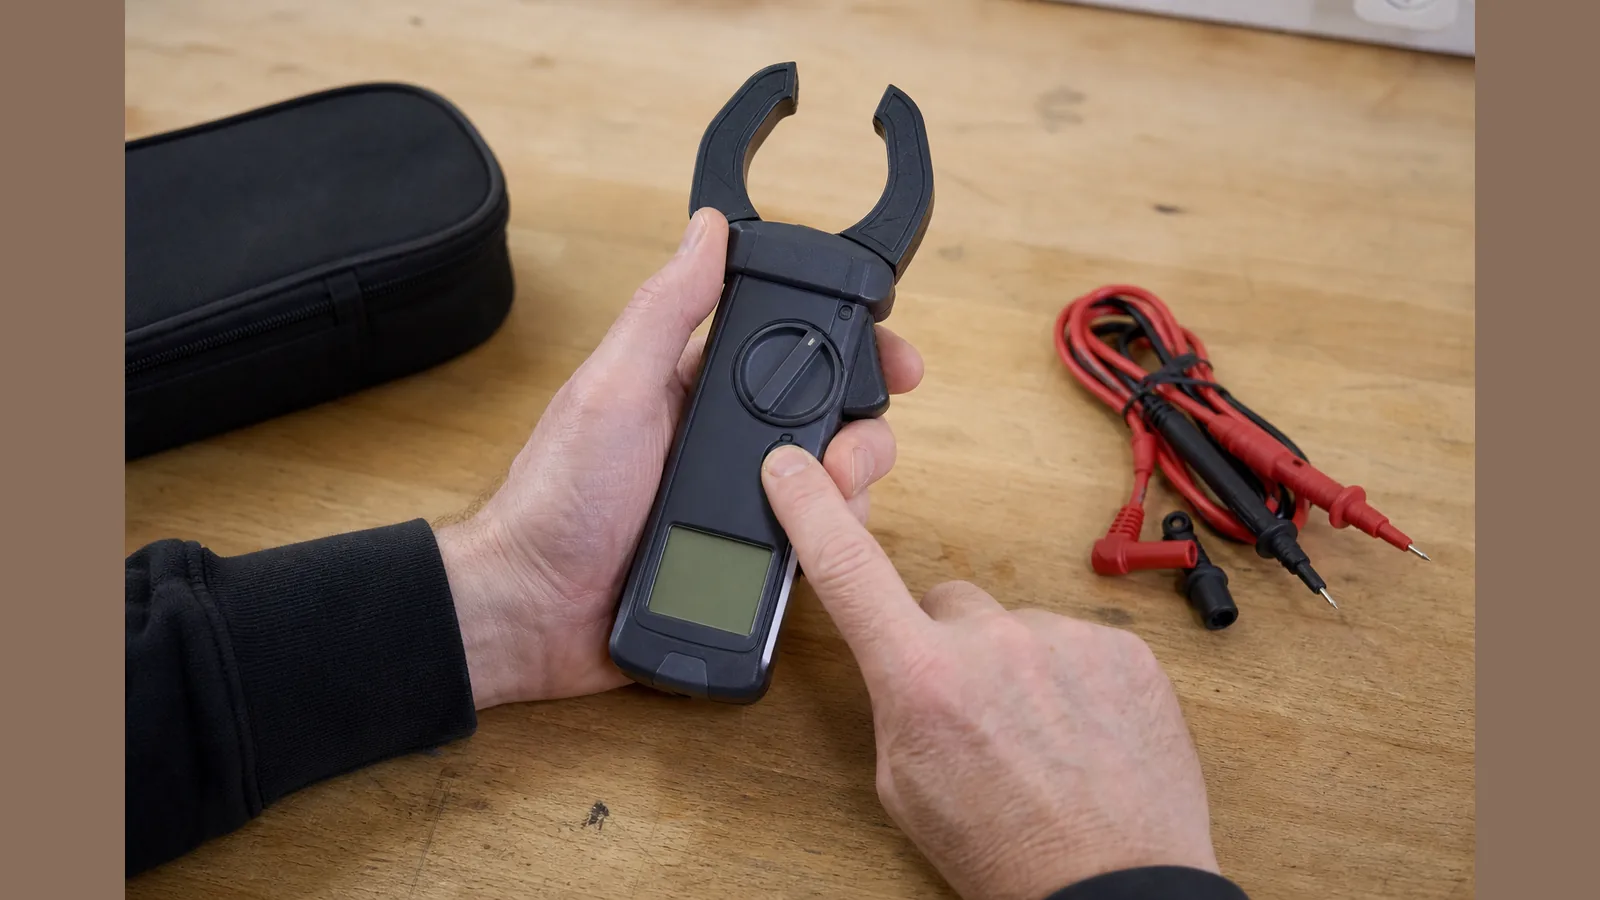
How to zero dc clamp before measuring: uK First-Use Checklist
Before every DC current check, zero the clamp with the jaws closed and no conductor in the aperture. That clears sensor offset so the reading starts from a true baseline, which matters most when you are chasing small parasitic drains.
Answer first: zero the jaws with no conductor before every DC current check
DC clamp readings do not behave like AC ones. Residual offset from the sensor, nearby magnets, or a bumped jaw can leave a false milliamp or amp reading even when nothing is clamped. If your meter has a DC zero (or relative) function, use it with empty jaws before you clamp the conductor. Re-zero periodically as well—environment and accidental knocks can shift the setting—especially before critical measurements.
Why residual magnetism and offset spoil milliamp drains
On vehicle or standby drains, you may be looking for tens or hundreds of milliamps. A small uncorrected offset can look like a real load, or hide one. Zeroing compensates for that offset before the jaws enclose the cable, so you are not chasing a phantom draw or dismissing a genuine one.
Step-by-step zero on a known clear jaw
- Select the DC current (A or mA) range your meter provides for clamp measurement.
- Confirm the jaws are fully closed and empty—no cable, no metal in the throat.
- Keep the clamp away from strong magnets, motors, and other clamps while you zero.
- Press the meter’s zero / relative control (if fitted) and wait until the display settles near zero.
- Only then open the jaws, clamp a single conductor, and close them fully for the reading.
- If the empty-jaw reading drifts after a bump or a move, re-zero before the next critical check.
Not every clamp has a dedicated zero control; follow the maker’s instructions for your model. For kit contents, live price and specifications of the BSIDE ACM92 True RMS DC current clamp / multimeter positioning on this site, use the product page rather than assuming unmarked features.
Practice on a known resistive/lamp load after zero
After a clean zero, practise on a simple, known resistive or lamp load on an isolated, competent-person setup so you can see a stable reading change when the conductor is in the jaw and return toward zero when it is removed. That habit builds confidence in the zero step without inventing accuracy claims or lab results. Do not treat non-contact voltage indicators as prove-dead; use proper safe-isolation practice.
Single-conductor rule reminder
Clamp only one current-carrying conductor. Clamping a whole twin-and-earth or a positive and negative pair together cancels the magnetic field and can show near zero even when current is flowing. For DC drain work, that usually means one battery lead (or one fuse-leg conductor) at a time, jaws fully closed around that single wire.
Competence boundary and when to stop
Electrical and vehicle work should sit with a competent person who understands safe isolation, battery disconnection risks, and the limits of their instrument. Stop if the meter lacks a clear DC clamp/zero function for the job, if markings or the live product documentation do not support the measurement you need, if readings will not settle after repeated empty-jaw zeros, or if you cannot isolate safely. Use confirmed details category ratings or treat NCV/V-Alert style indicators as proof that a circuit is dead.
Next step to ACM92 product page for kit contents
If you want a True RMS DC current clamp / multimeter kit for this workflow, check the live ACM92 True RMS DC current clamp meter product details for current kit contents, price and specifications before you buy—verify those on the page rather than from memory.